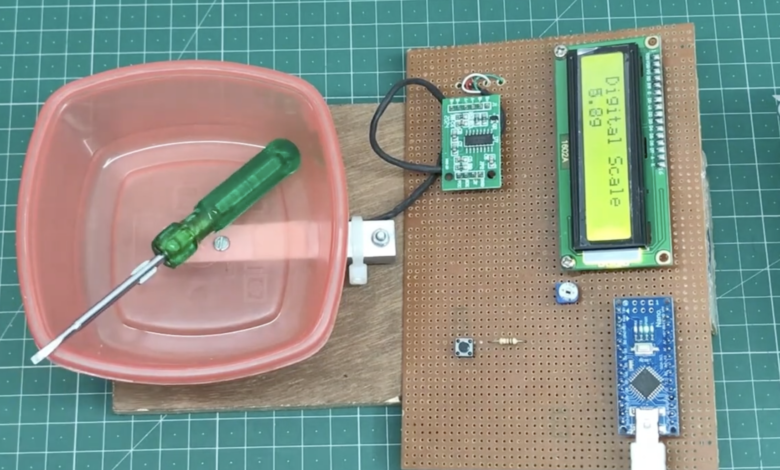
Are you looking to calibrate your load cell HX711 but unsure where to start? In this comprehensive guide, we will walk you through the process of calibrating your load cell HX711 step by step. Whether you are a beginner or an experienced user, this guide will help you understand the basics, prepare for calibration, connect your load cell to the HX711, program the HX711 with your microcontroller, perform the calibration procedure, troubleshoot common calibration issues, and maximize accuracy in your measurements. eTAZ systems Let’s dive in and demystify the process of calibrating your load cell HX711.
Understanding the Basics of Load Cell HX711

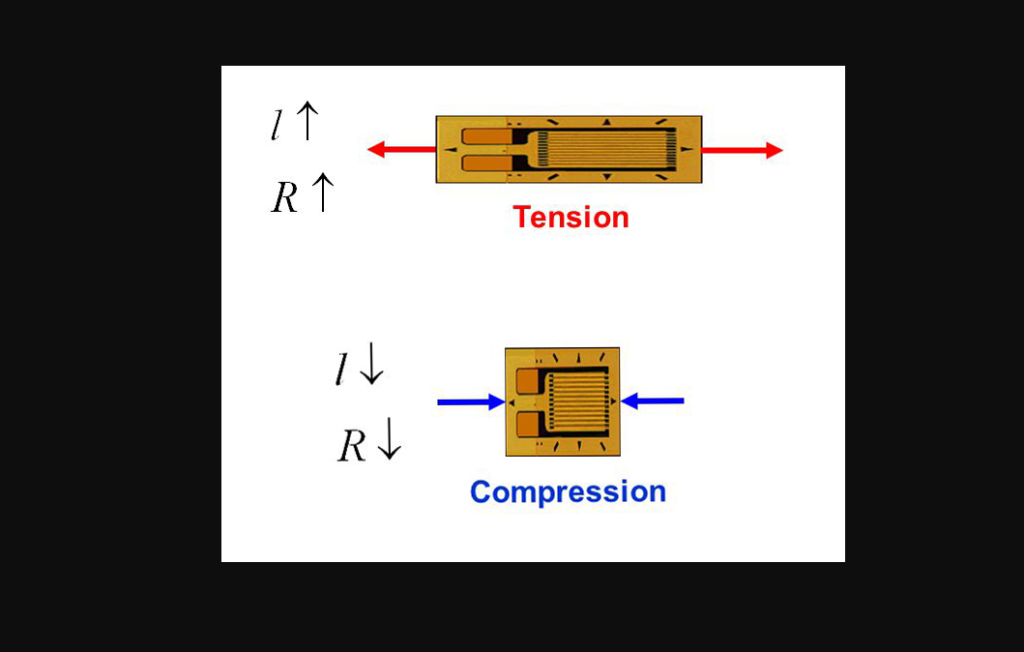
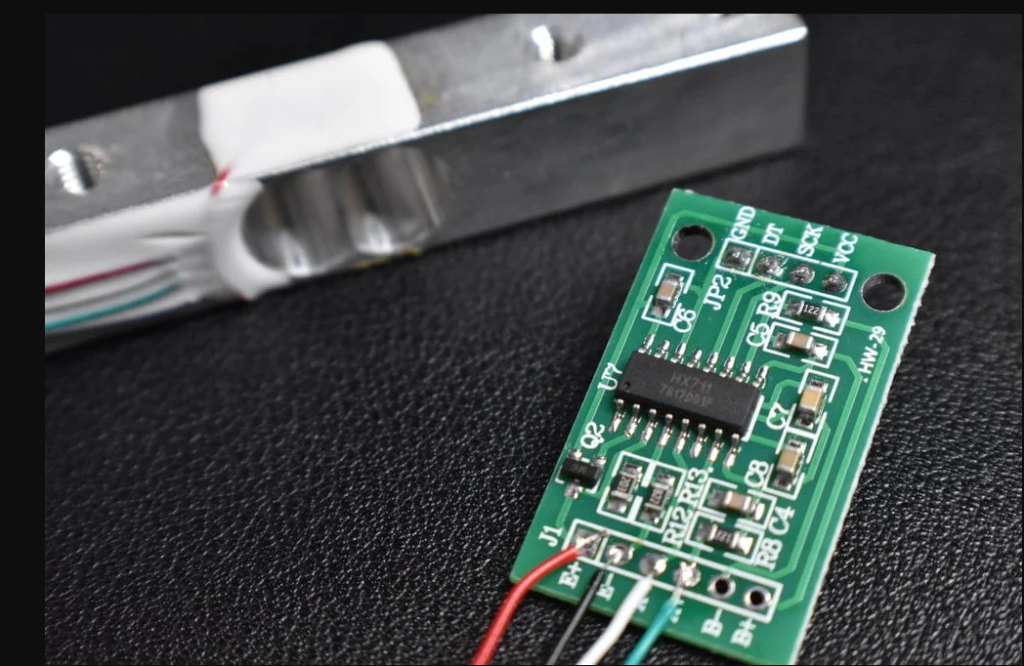
At its core, the Load Cell HX711 module is an indispensable tool for precise weight measurement in a vast array of applications, from commercial scales to intricate industrial control systems. This specialized module acts as a bridge, converting the minute electrical outputs generated by load cells into readable digital data. Central to its design is a 24-bit analog-to-digital converter (ADC), which ensures high precision in capturing and translating weight signals. The HX711 module operates by amplifying the signal from the load cell before it undergoes digital conversion, allowing for an accurate reading of small weight changes. Its compatibility with microcontrollers further facilitates the seamless integration of weight data into broader systems, enabling users to implement sophisticated weighing functions with ease. By leveraging the capabilities of the Load Cell HX711, users can achieve reliable and precise measurements critical for both routine and specialized weighing applications.
Preparing for Calibration
Before embarking on the calibration journey of your load cell HX711, proper preparation is key. Assemble all required tools and components, including the load cell itself, the HX711 module, a compatible microcontroller, jumper wires for connections, and a reliable power supply. It’s crucial to create a distraction-free workspace to avoid any errors during the calibration process. Additionally, familiarizing yourself with the load cell HX711’s datasheet is invaluable. This document contains essential information on specifications and calibration prerequisites, ensuring you have a thorough understanding before proceeding. This foundational step not only streamulates the calibration process but also minimizes potential hurdles, paving the way for a smooth and efficient calibration experience.
Connecting Your Load Cell to the HX711

Achieving an accurate and reliable connection between your load cell and the HX711 module is a pivotal step in the calibration process. Begin by consulting the wiring diagram available in the HX711 datasheet to identify the correct pins for connecting the load cell wires. This visual guide is instrumental in ensuring each wire is accurately matched with its corresponding pin on the module, thereby avoiding any potential misconnections that could impair the calibration accuracy. Carefully connect each wire, paying close attention to secure them firmly to prevent any disconnections or interference during the calibration. It’s also advisable to inspect each connection for any signs of damage or wear, as this could impact the signal quality. Ensuring a solid and correct connection is not only essential for accurate weight measurements but also for the stability and reliability of the entire calibration process.
Programming the HX711 with Your Microcontroller
Programming the HX711 with your microcontroller is a critical step in the calibration process, bridging the gap between the physical measurements taken by your load cell and the digital world where these measurements can be interpreted and utilized. This stage involves writing a code that enables communication between the HX711 module and your microcontroller. The objective is to extract the data collected by the Load Cell HX711 Calibration and process it efficiently. Begin by initializing the HX711 library in your development environment, a necessary step for leveraging pre-existing functions that simplify the interaction with the module. Next, create a function within your code that accurately reads the digital output from the HX711, ensuring this output is correctly interpreted by the microcontroller. This will involve configuring the microcontroller to recognize the specific data format the HX711 uses.
Performing the Calibration Procedure
Begin the calibration of your load cell HX711 by securely placing a known weight on the load cell. Accurately note the output reading displayed by your system for this weight. This crucial step involves inputting the known weight into your calibration code as a reference point, allowing the system to understand the correlation between the physical weight and the digital output signal. Continue this process with multiple weights across the load cell’s capacity range to comprehensively map the load cell’s response. With each additional weight, adjust the calibration factor within your programming environment to fine-tune the system’s accuracy. It’s imperative to cover a broad spectrum of the load cell’s measuring capacity to ensure a reliable calibration curve. This methodical approach helps in eliminating discrepancies and significantly improves the system’s measurement accuracy.
Troubleshooting Common Calibration Issues
Encountering challenges during the calibration of your load cell HX711 can be frustrating, but these hurdles are often surmountable with targeted troubleshooting techniques. A common issue faced is drift, where the output signal may slowly change over time even when the load remains constant. This can typically be addressed by ensuring stable environmental conditions and checking for loose connections. Noise, another prevalent problem, can distort the signal, making accurate readings difficult. To combat this, ensure that your setup is away from electromagnetic interference and consider using shielded cables. Zero offset errors, where the scale does not read zero without any load, may require resetting the HX711 module or recalibrating the zero point. If these steps don’t resolve your issues, it may be helpful to examine the load cell and HX711 module
Maximizing Accuracy in Your Measurements
To achieve the highest level of measurement accuracy with your load cell HX711 setup, a keen awareness of potential influencing factors is crucial. Environmental conditions, especially temperature variations, can significantly impact the performance of load cells by altering the material properties and, consequently, the electrical output. Implement strategies to mitigate these effects, such as operating in a controlled environment or employing temperature compensation techniques within your calibration code. Additionally, the concepts of linearity—the proportionality between the input force and the output signal—and hysteresis—the difference in output at the same load point during loading and unloading—should be carefully considered. These factors can introduce errors in measurements if not accounted for during the calibration process. Regular recalibration can also help adjust for any drift in the system over time, ensuring that your setup remains accurate across its operational lifespan.
FAQS
In our FAQs section, we address common questions related to calibrating the Load Cell HX711 for your convenience.
Q: How often should I recalibrate my Load Cell HX711?
A: Recalibration frequency depends on usage intensity and the precision requirements of your applications. For high-precision tasks, consider recalibrating every few months or immediately if accuracy seems compromised.
Q: What weights should I use for calibration?
A: Use a range of known weights that span the measuring capacity of your load cell. Ensure these weights are certified or have a known accuracy to maintain calibration integrity.
Q: Can I use any microcontroller with the HX711?
A: Most microcontrollers compatible with digital signal processing can work with the HX711, but ensure the microcontroller supports the communication protocol and voltage levels required by the HX711.
Q: Why is my load cell reading drifting?
A: Drift can be caused by environmental factors, loose connections, or a need for recalibration. Verify your setup and recalibrate if necessary to mitigate drift issues.
Q: What should I do if my readings are consistently inaccurate?
A: Check for correct wiring, ensure there’s no damage to the load cell or HX711, and confirm that your calibration process was performed correctly. Recalibrating with careful attention to the procedure may resolve accuracy issues.
