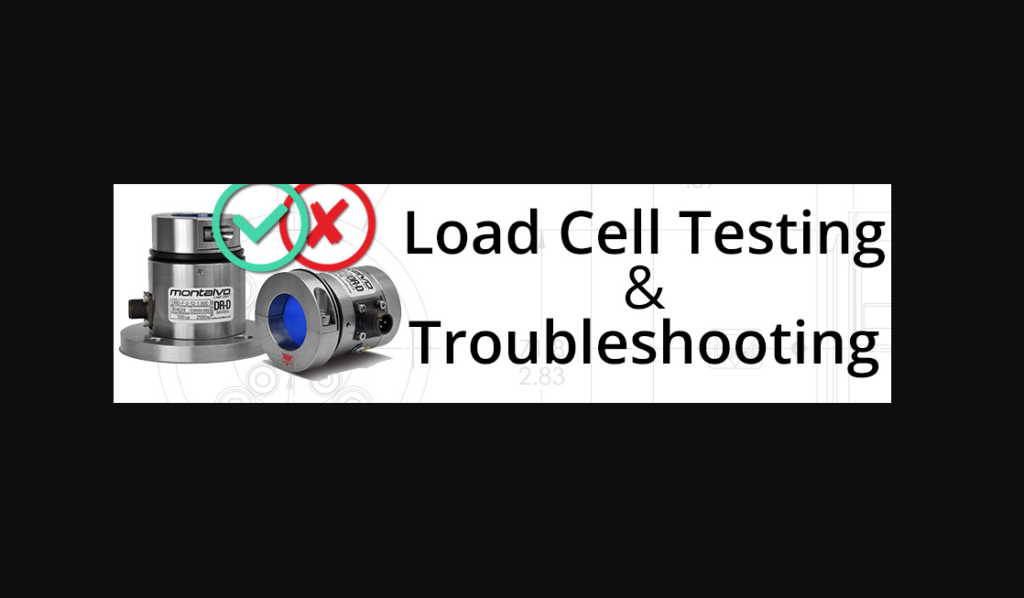
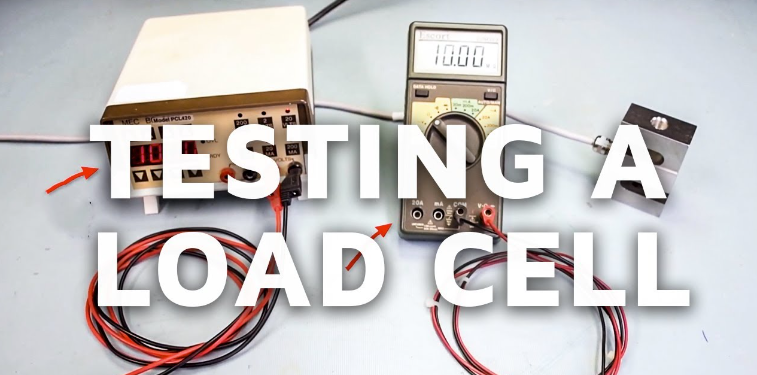
In the ever-evolving world of industrial automation and measurement technology, load cells play a pivotal role. These precise instruments convert force into an electrical signal, making them indispensable in various industries, from manufacturing and logistics to healthcare and aerospace. At eTAZ Systems, we understand the critical importance of ensuring that your load cells function accurately and reliably. This comprehensive guide will walk you through the process of test a load cell, ensuring optimal performance and longevity of your equipment.
Understanding Load Cells
Before diving into the testing procedures, it’s essential to grasp the basics of load cells. A load cell is a transducer that converts mechanical force into an electrical signal. They come in various types, including:
- Strain Gauge Load Cells: The most common type, these use strain gauges bonded to a material that deforms under load.
- Hydraulic Load Cells: Utilize fluid pressure to measure force.
- Pneumatic Load Cells: Use air pressure to determine force.
- Capacitive Load Cells: Measure changes in capacitance.
- Piezoelectric Load Cells: Generate an electrical charge in response to force.
Each type has its own specific applications and benefits, but they all share the need for accurate and reliable testing.
Why Testing Load Cells is Crucial

Testing load cells is vital for several reasons:
- Accuracy: Ensuring that the Test a load cell provides precise measurements.
- Safety: Verifying that the load cell operates within safe parameters to prevent accidents.
- Longevity: Detecting potential issues early can prolong the life of the Test a load cell.
- Compliance: Meeting industry standards and regulations.
Preparing for Testing
Before testing a load cell, gather the necessary tools and equipment:
- Digital multimeter
- Calibration weights or a known load
- Load cell indicator or display
- Wiring diagram of the load cell
- Appropriate software for digital Test a load cells
- Environmental control equipment (if needed)
Step-by-Step Guide to Testing a Load Cell
1. Visual Inspection
Start with a thorough visual inspection of the Test a load cell. Look for any signs of physical damage, such as cracks, corrosion, or loose connections. Ensure that the load cell is clean and free from debris.
2. Wiring and Connections
Check the wiring and connections using the wiring diagram. Ensure that all connections are secure and that there are no broken wires. For strain gauge load cells, the typical wiring involves four wires: excitation (+ and -) and signal (+ and -).
3. Zero Balance Test
A zero balance test determines if the load cell returns to zero when there is no load applied.
- Connect the load cell to the indicator.
- Ensure there is no load on the load cell.
- Note the reading on the indicator. Ideally, it should be zero or within the manufacturer’s specified tolerance.
If the zero balance is off, it could indicate a problem with the load cell or the setup.
4. Excitation Voltage
Verify the excitation voltage supplied to the load cell. Use a digital multimeter to measure the voltage between the excitation (+) and (-) terminals. Compare this to the load cell’s specifications. An incorrect excitation voltage can lead to inaccurate readings.
5. Bridge Resistance
Measure the resistance of the load cell’s Wheatstone bridge circuit. Disconnect the load cell from any power source and use a digital multimeter to measure the resistance between the excitation terminals and the signal terminals.
- Excitation resistance (between excitation + and -): Compare with the manufacturer’s specs.
- Signal resistance (between signal + and -): Again, compare with the specs.
Significant deviations from the specified resistance values could indicate a fault in the load cell.
6. Apply Known Loads
To test the load cell’s accuracy, apply known weights and record the readings.
- Start with no load and ensure the indicator reads zero.
- Apply a known weight and record the indicator reading.
- Repeat with various weights within the load cell’s capacity.
Plot the readings on a graph to see if they form a straight line, which indicates linearity. Compare the results with the load cell’s specifications.
7. Creep Test
The creep test checks the load cell’s ability to maintain accuracy over time under a constant load.
- Apply a load to the load cell and record the initial reading.
- Maintain the load for a specified period (e.g., 30 minutes).
- Record the reading again after the time has elapsed.
The difference between the initial and final readings should be within the manufacturer’s specified creep tolerance.
8. Temperature Effect
Temperature changes can affect load cell performance. If you need to test for temperature effects:
- Place the load cell in a controlled temperature environment.
- Measure the output at different temperatures.
- Compare the readings to ensure they are within specified tolerances.
9. Hysteresis Test
Hysteresis measures the difference in load cell output when a load is applied and then removed.
- Apply a known load and record the reading.
- Remove the load and record the zero reading.
- Reapply the same load and compare the readings.
The difference should be within the manufacturer’s specified hysteresis tolerance.
10. Signal Stability
Check the stability of the load cell signal by monitoring the output over a period without changing the load. Any significant fluctuations could indicate issues with the load cell or external interference.
Troubleshooting Common Issues
Even with careful testing, you may encounter problems. Here are some common issues and their potential causes:
- Drift in Readings: Could be due to temperature changes, moisture ingress, or electrical interference.
- Inaccurate Readings: May result from incorrect calibration, damaged load cell, or improper mounting.
- No Signal: Could indicate broken wires, faulty connections, or a defective load cell.
- Excessive Noise: Electrical interference or grounding issues can cause signal noise.
Maintenance Tips
Regular maintenance can extend the life of your load cells and ensure consistent performance:
- Regular Calibration: Periodically calibrate load cells to maintain accuracy.
- Environmental Protection: Protect load cells from moisture, dust, and extreme temperatures.
- Proper Mounting: Ensure load cells are mounted correctly to avoid mechanical stress and inaccuracies.
- Routine Inspections: Conduct regular visual and electrical inspections to catch issues early.
Conclusion
Testing a load cell is a meticulous process that requires attention to detail and a thorough understanding of the equipment. By following the steps outlined in this guide by eTAZ Systems, you can ensure that your load cells provide accurate and reliable measurements, crucial for maintaining the efficiency and safety of your operations.
At eTAZ Systems, we are dedicated to providing high-quality measurement solutions and support to help you achieve optimal performance. Whether you are implementing new systems or maintaining existing ones, our expertise in load cell technology is here to assist you every step of the way. For more information or assistance with your load cells, contact eTAZ Systems today.
